That classic Mac trick where you roll up windows? It’s back.
Window in the way?
Roll it up.
Double-click the title bar. The window rolls into a thin bar.
Double-click again. It comes right back.
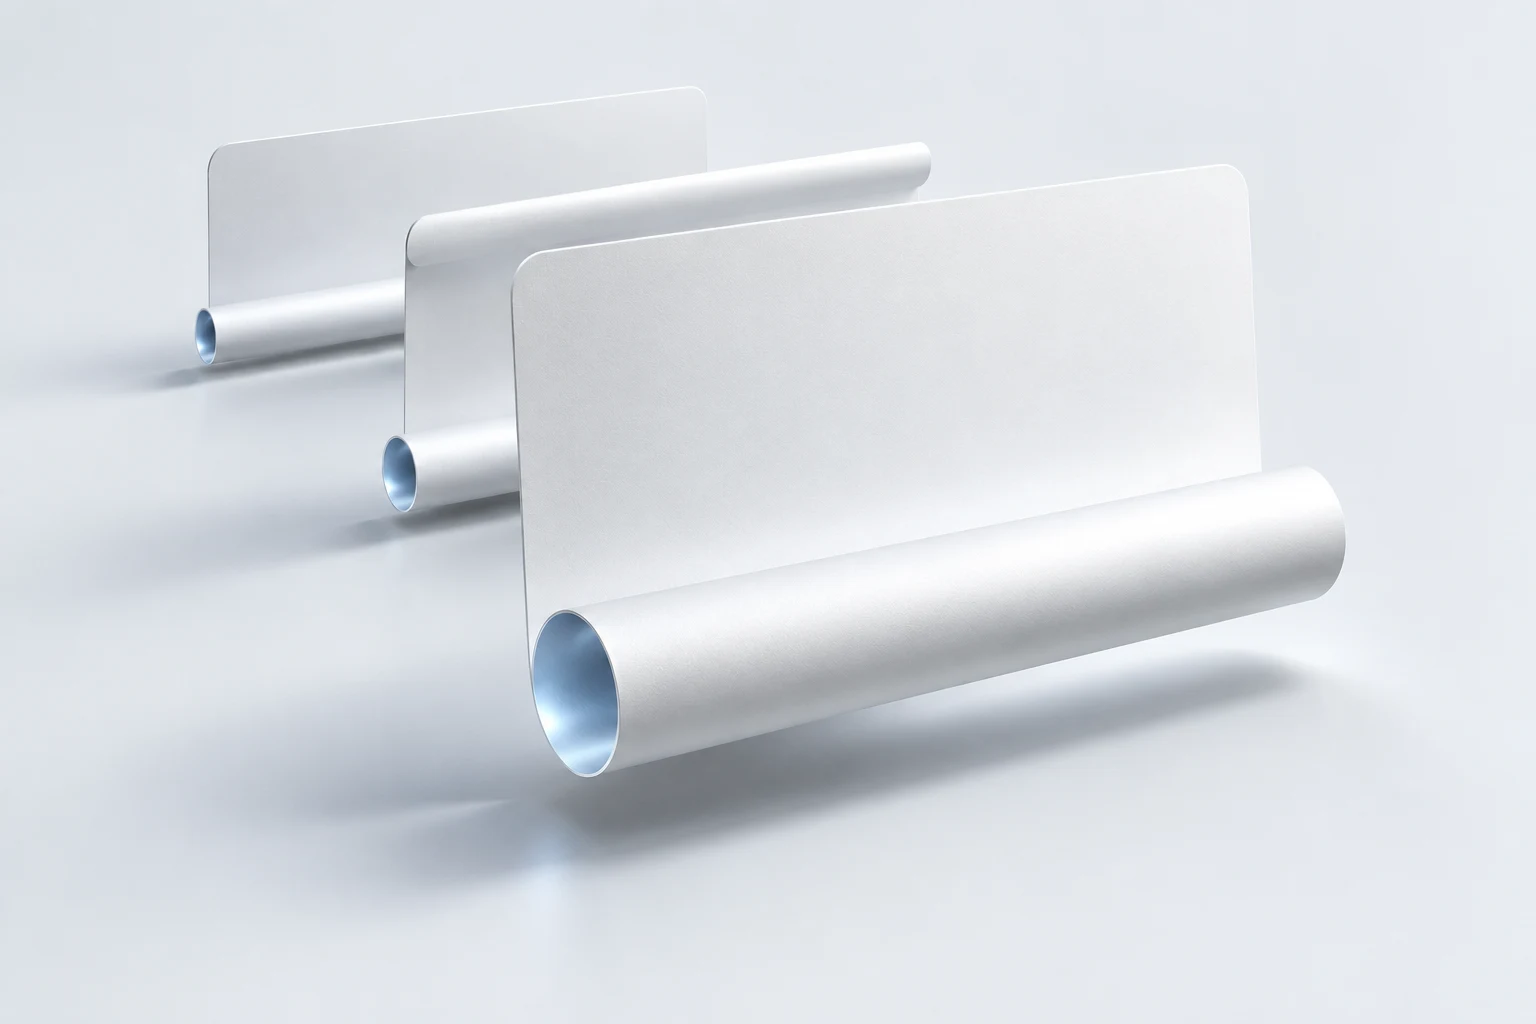
See what’s behind a window
without losing it.
A window is covering what you’re writing. Roll it up, read what’s behind it, then unroll — the window is still right where it was.
Not like minimizing — the window doesn’t go to the Dock. The bar stays in place. Drag it somewhere else, and the window opens at the new spot.
Even a gesture can be a preference.
The same roll-up action can follow a different rhythm. The old control panel leaves that choice to its user.
System 7.5
WindowShade
The control panel offers two or three clicks, with optional modifier keys.
Interactive illustration. Double-click the Reference · WindowShade title bar.
Need something on screen all the time?
Pin it on top.
Writing a report with some data open? Following a tutorial? Pin the window and it stays visible even when you switch to something else. Click on it when you need it, switch back when you’re done.
Press ⌃⌘P to pin a window. Press again to unpin. The menu bar shows all your pinned windows, and can unpin them all at once.
Switch to the draft — the reference gets covered. Then pin it and see the difference.
Use the reference dimensions to write the specification.
Reference is in front. Try switching to the draft.
A browser illustration of window layers — it won’t touch your Mac’s windows. Pinning reference: Top.it.
Just a few shortcuts to know.
- ⌃ ⌘ CRoll up or unroll the current window
- ⌃ ⌘ PPin or unpin the current window
- ⌃ ⌘ 1…9Unroll a shaded window in menu order
- ⌃ ⌘ 0Tidy the shades, or switch to a focus layout
Close the lid,
and the desktop rolls up with it.
On an Apple Silicon MacBook with a lid sensor, the desktop rolls, fades, or blurs as you close the screen. Just a fun extra — rolling up and pinning work without it.

Settings are simple.
Just the stuff you’d actually change.
One page each for the trigger gesture, shade style, permissions, and startup. Shades can keep the window’s own look or use a consistent title bar.
Native settings · v1.0.11, follows your system appearance.
Your windows are safe.
Accessibility permission finds and moves windows. Screen Recording makes shade previews. Everything stays on your Mac — nothing gets uploaded. If the app ever crashes, your windows come back on their own.
Design rationale and research notes ↗Quick answers before you download.
Will it work on my Mac?
You need macOS 14+ and Apple Silicon — no Intel build. Rolling up and pinning don’t need any sensors. The lid-following desktop effect needs a MacBook with a hinge sensor.
What permissions does it need?
Accessibility — for finding, moving, and restoring windows. Screen Recording — for snapshots, previews, and effects. Don’t worry, “Screen Recording” is just the system permission’s name. Nothing leaves your Mac.
Does it work with every window?
Regular desktop windows, yes. Stickies uses its own built-in collapse. Adobe-style custom toolbars get special handling. Full screen, Split View, Stage Manager, and multi-display still have some rough edges — try it with your apps and see.
How do I install it?
Download the ZIP, unzip, drag WindowShade.app into Applications, and open it. It’ll ask for permissions. The app is Apple Development signed but not notarized — if macOS blocks it, go to System Settings → Privacy & Security and hit Open Anyway.
Next time a window is in the way,
just roll it up.
macOS 14+ · Apple Silicon · Free and MIT licensed.
Download for Mac